Taking a screenshot on your PC is a handy skill that can help you capture important information, save memorable moments, or troubleshoot technical issues. Whether you’re using a Windows PC or a Mac, the process is quick and easy. In this article, we’ll walk you through the steps to take a screenshot on your PC and answer some common questions.
How to Take a Screenshot on Windows
Method 1: Using the Print Screen (PrtScn) Key
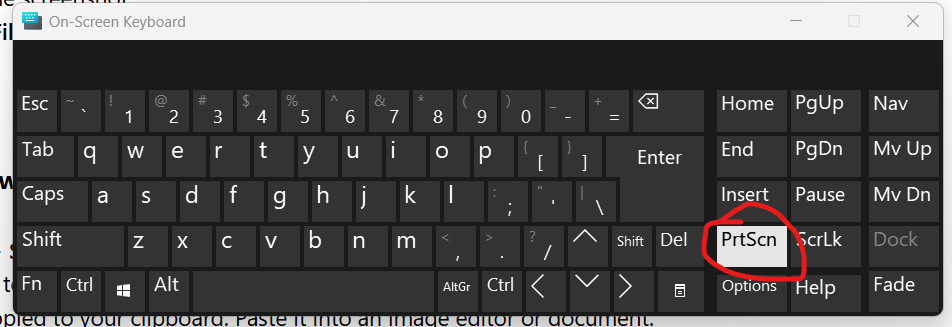
- Locate the Print Screen (PrtScn) key on your keyboard. It’s usually found in the top-right corner.
- Press PrtScn to capture the entire screen.
- Open an image editor like Paint or Microsoft Word.
- Press Ctrl + V to paste the screenshot.
- Save the file by clicking File > Save As and choosing your preferred format (e.g., JPEG or PNG).
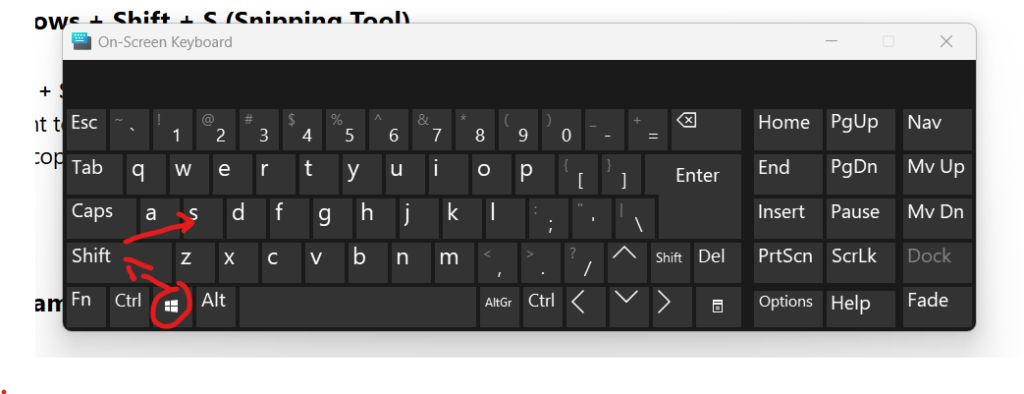
Method 2: Using Windows + Shift + S (Snipping Tool)
- Press Windows + Shift + S to open the Snipping Tool.
- Select the area you want to capture by dragging your cursor.
- The screenshot will be copied to your clipboard. Paste it into an image editor or document.
Method 3: Using the Game Bar (Windows + G)
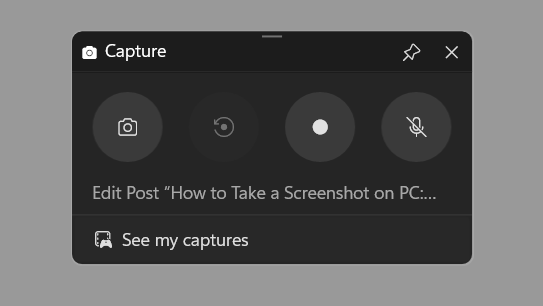
- Press Windows + G to open the Game Bar.
Then you will see this option (see screenshot). Then click camera icon to take the screenshot.
If you want to take a screenshot using keyboard then follow these steps.
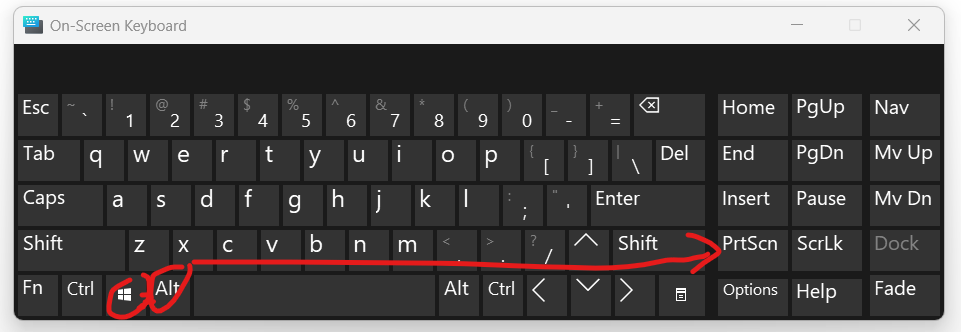
- Press Windows + Alt + PrtScn to take a screenshot.
- Your screenshot will be saved in the Captures folder under Videos.